Part of: Technical Analysis
Volume Profile: Where Real Support and Resistance Lives
Price-based support and resistance is a guess. Volume profile shows you where actual transactions occurred and where institutions have real positions to defend.
 Jake Morrison4 min read
Most Support and Resistance Is Arbitrary
Draw a horizontal line on a chart where price bounced twice and call it support. That is what 90% of technical analysis tutorials teach. The problem: you are looking at where price stopped, not why it stopped.
Volume profile flips this approach. Instead of asking "where did price reverse?" it asks "where did the most trading actually happen?" Those are the levels where institutions built positions, where real money is committed, and where those same institutions have incentive to defend their positions.
A price level where 50 million shares changed hands is fundamentally different from a level where price briefly touched and bounced on 2 million shares. Volume profile shows you the difference.
The Key Concepts
Volume Profile displays the total volume traded at each price level over a specified period, shown as a horizontal histogram on the price axis.
Point of Control (POC): The single price level with the highest traded volume. This is the "fair value" that the market agreed on most during the period. The POC acts as a magnet: price tends to return to it.
Value Area: The price range containing 70% of total traded volume (one standard deviation). The upper boundary is the Value Area High (VAH), the lower is the Value Area Low (VAL). Think of it as where the market conducted most of its business.
High Volume Nodes (HVN): Price levels with significant volume clusters. These act as support or resistance because many participants have positions there and will act to protect them.
Low Volume Nodes (LVN): Price levels with minimal volume. These are gaps in the profile where price tends to move quickly because few participants have positions to defend.
Why Volume-Based Levels Beat Price-Based Levels
Traditional support at $150 means price bounced there before. Volume profile support at $150 means 30 million shares traded there. The second one has a mechanism behind it.
When a stock pulls back to a high-volume node, the traders who bought there become active. Those sitting on gains may add to positions. Those at breakeven may hold firmly. The aggregate effect is buying pressure at that level, not because of a line on a chart, but because real money is deployed there.

AAPL in January 2024 provides a clean example. The volume profile from Q4 2023 showed a massive HVN at $183-185, where roughly 400 million shares had traded. When AAPL pulled back from $195 to $184 in mid-January, it held that level almost to the penny before bouncing to $190. Traditional charting would have identified $185 as support based on a prior swing low, but the volume profile told you why it was support and gave you confidence in the level before price arrived.
Point of Control as a Magnet
The POC has a gravitational pull on price. It represents equilibrium, the price where buyers and sellers agreed most. When price moves away from the POC on low volume, it tends to revert back.
Practical example: if the weekly POC on SPY is at $505 and price rallies to $512 on low volume, the odds favor a pullback toward $505. The rally needs enough volume to build a new high-volume node at higher prices. Without that, it is a low-conviction extension.
Value Area Trading
The 70% value area creates a tradable framework:
Inside the value area: Price is in consensus territory. Expect choppy, range-bound behavior. Mean-reversion strategies work here. Buy at the VAL, sell at the VAH.
Breaking above VAH on strong volume: The market is accepting higher prices. A genuine breakout confirmed by the profile.
Breaking below VAL on volume: The market is rejecting the prior value area. Bearish continuation is likely.

Rejection at VAH/VAL: Price pokes outside but closes back inside. Failed breakout.
JPM in February 2024 had a value area of $183-189. Price broke above $189 on an earnings beat with 3x average volume. That was a genuine value area breakout. By contrast, a low-volume push above $189 in early January had failed and reverted to the POC at $186 within three days.
Institutional Footprints
Volume profile reveals institutional behavior invisible on standard charts.
Accumulation shows up as a growing high-volume node at a specific price level over days or weeks. An institution buying 5 million shares spreads purchases across days at a specific price range. The volume profile records this. Cross-referencing volume nodes with 13F explorer data can confirm whether institutions actually increased positions during those periods.
Distribution is the opposite: a high-volume node forms at elevated prices as an institution sells into strength.
META in January 2024 showed a massive node building at $385-395 over two weeks. This was accumulation ahead of earnings. After the report, the stock gapped to $475. The volume profile flagged institutional positioning before price action showed anything unusual.
Getting Started
Most charting platforms offer volume profile as an overlay. Start with the visible range profile, which calculates volume across all bars on your chart and adjusts to your timeframe automatically. Once comfortable, try fixed-range profiles anchored to specific events like the last earnings report.
The fundamentals view surfaces volume data that complements profile analysis, showing whether current trading volume is above or below historical norms and at which price levels activity is concentrating.
Volume profile is not a crystal ball. But it replaces guesswork about support and resistance with data about where actual transactions occurred. That is a meaningful upgrade.
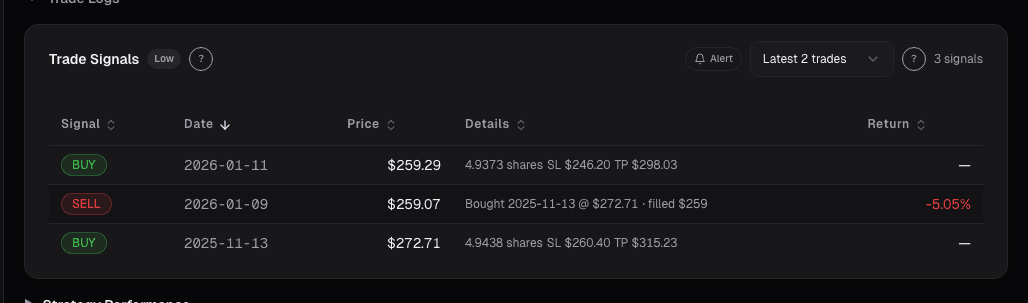
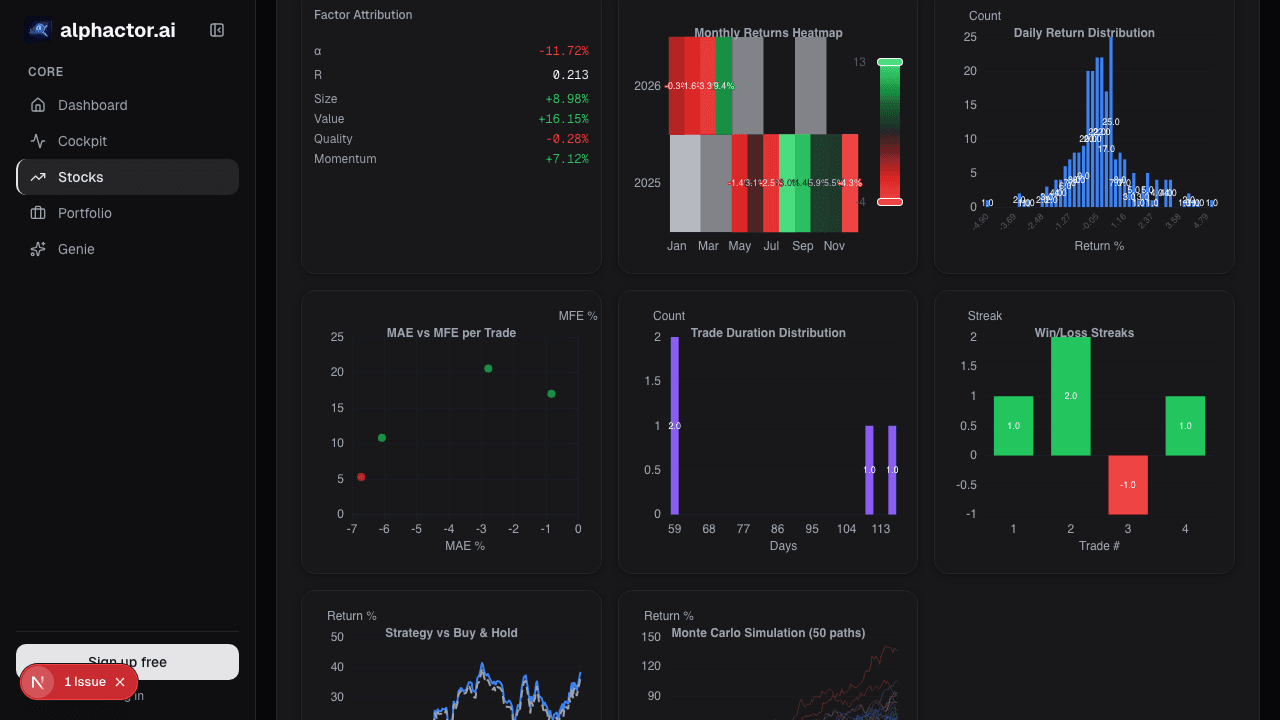
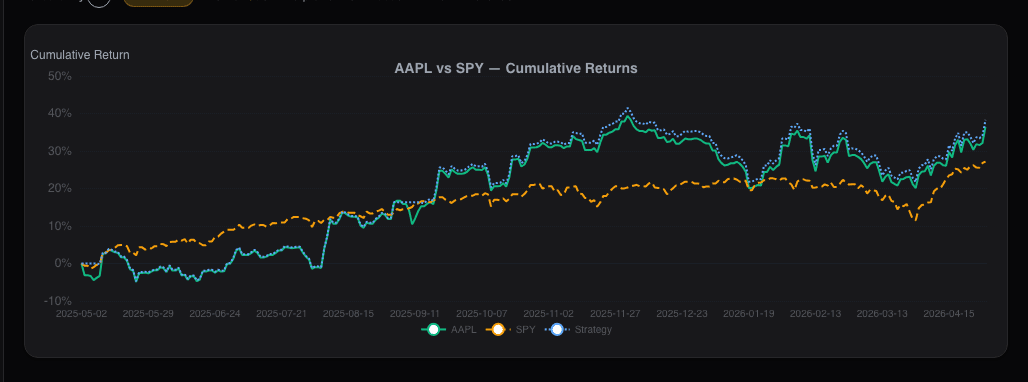
See it in the app
Live dashboard views that match this post. Each tile deep-links to the exact card.
Stocks mentioned
Related reading
Why Stacking 5 Indicators on Your Chart Is Making You Worse
Most traders use too many indicators that say the same thing. Learn how to pick 2-3 complementary indicators and reduce signal noise.
Dark Pool Prints
Off-exchange share above 45% clustered into weakness signals institutional accumulation. Dark pool prints are regulated, post-trade transparent, and measurable.
Dashboard Movers: Catching Unusual Moves Before They're Old
Most platform movers lists are dangerous, they rank by % change alone, surfacing illiquid small-caps on meaningless volume.
Market Breadth: The Health Check Most Investors Skip
How advance-decline lines, new highs-lows, and participation rates reveal whether a rally is built on solid ground or propped up by a handful of stocks.
On-Balance Volume: The Simplest Way to Spot Accumulation
OBV tracks whether volume flows into or out of a stock. When OBV diverges from price, someone knows something you do not.
Ready to try alphactor.ai?
Validate your trading strategies with statistical credibility testing. Start free.
Get Started Free